
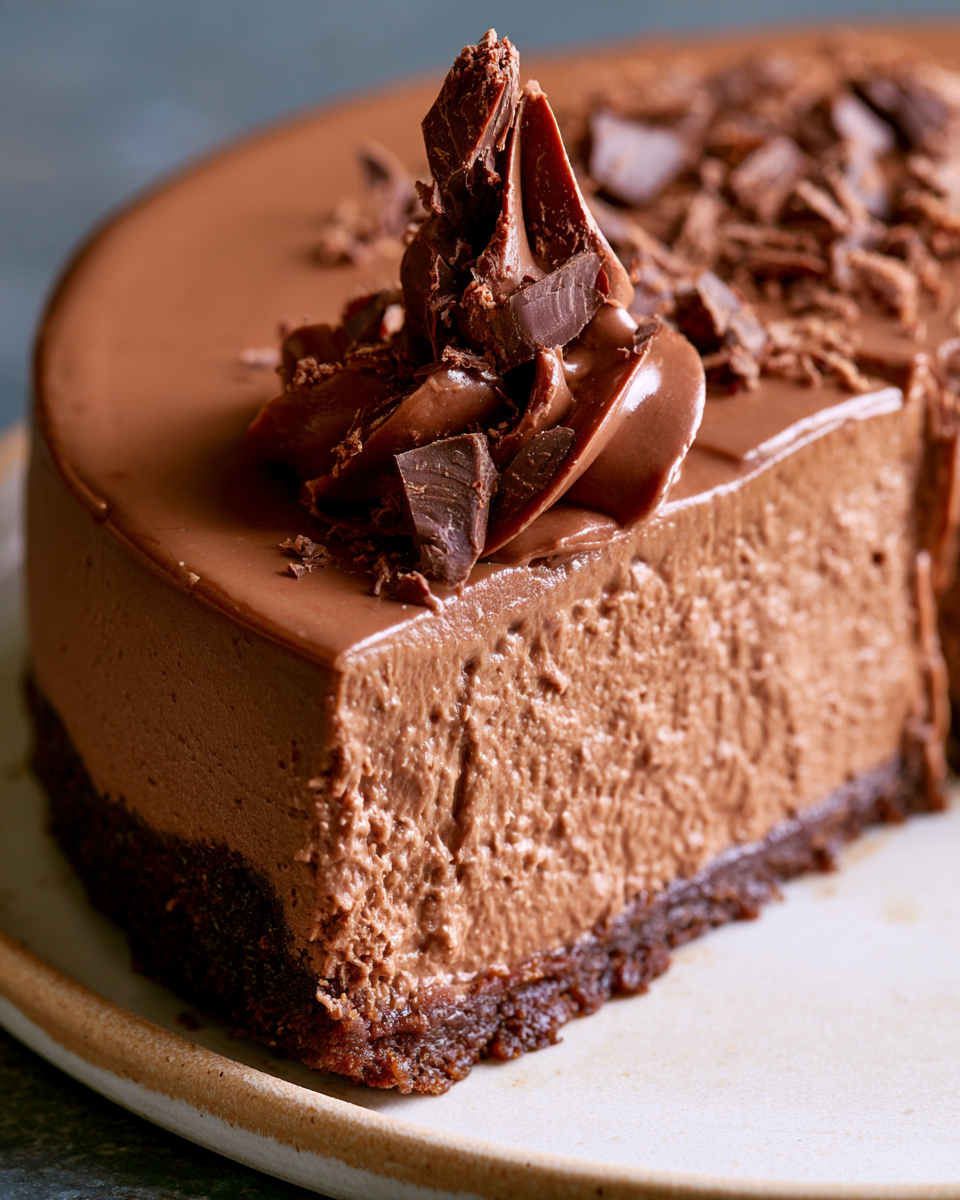
Chocolate cheesecake recipe creations offer a dense, velvety texture and deep cocoa profile suitable for any special dessert occasion. This classic preparation relies on premium cocoa powder and high-quality cream cheese to ensure a smooth, professional result every time. By following precise temperature controls and mixing techniques, you achieve a bakery-standard dessert that remains firm yet incredibly creamy on the palate.
| Metric | Details |
|---|---|
| Prep Time | 30 minutes |
| Cook Time | 75 minutes |
| Total Time | 7 hours |
| Servings | 12 servings |
| Difficulty | Intermediate |
| Cuisine | American |
Why This Recipe Works
This chocolate cheesecake recipe works because it balances the intense bitterness of dark cocoa with the tangy sweetness of full-fat cream cheese. My experience in professional kitchens taught me that the secret lies in the fat content and the gentle application of heat during the baking process.
We use a water bath to insulate the batter, which prevents the eggs from scrambling and keeps the edges from drying out prematurely. This methodical approach eliminates common structural issues like cracks and uneven browning while ensuring the final product sets perfectly after a long chilling phase.
Ingredients
| Ingredient | Quantity | Notes |
|---|---|---|
| Cream Cheese | 32 oz | Use room temperature blocks |
| Granulated Sugar | 1.5 cups | White cane sugar works best |
| Dark Cocoa Powder | 0.75 cup | Dutch-processed for deeper color |
| Eggs | 4 large | Room temperature |
| Heavy Cream | 1 cup | Full fat for rich texture |
| Chocolate Chips | 1 cup | Semi-sweet or bittersweet |
| Graham Crackers | 1.5 cups | Crushed for the base |
Step-by-Step Instructions
Preparing the Crust
Combine crushed graham crackers with melted butter in a medium mixing bowl.
Press the mixture firmly into the bottom of a 9-inch springform pan.
Bake the crust at 350 degrees Fahrenheit for 10 minutes then allow it to cool completely.
Mixing the Filling
Beat the room temperature cream cheese and sugar together until the texture is completely smooth.
Add cocoa powder to the bowl and mix on low speed until fully incorporated.
Whisk in eggs one at a time to ensure the emulsion remains stable throughout the process.
Fold in melted chocolate chips and heavy cream until the batter looks glossy and uniform.
Baking the Cheesecake
Wrap the bottom of the springform pan in two layers of heavy-duty aluminum foil.
Place the pan into a large roasting pan filled with one inch of hot water.
Bake at 325 degrees Fahrenheit for 75 minutes until the center jiggles slightly.
Turn off the oven and leave the door cracked for one hour to prevent rapid cooling.
Chef Tips for Perfect Results
Always use room temperature cream cheese to ensure no lumps remain in the final batter.
Do not overmix the batter after adding the eggs as this incorporates too much air.
Utilize a springform pan with a tight seal to prevent water from the bath seeping in.
Chill the finished cheesecake for at least six hours before slicing to allow for firm clean edges.
Common Mistakes to Avoid
Avoiding common errors ensures the structural integrity of your dessert. Using cold ingredients causes lumpy batter, which ruins the texture. Overbeating eggs creates air pockets that lead to cratering during the cooling process. Failing to use a water bath causes the edges to cook too fast, resulting in a curdled consistency. Finally, rushing the chilling time prevents the fats from setting, leading to a messy serving experience.
Variations and Substitutions
| Ingredient | Substitution | Impact on Flavor |
|---|---|---|
| Semi-sweet chips | Milk chocolate | Increases overall sweetness |
| Graham crackers | Oreo cookies | Adds intense cocoa crunch |
| Heavy cream | Full-fat sour cream | Increases tanginess |
Serving Suggestions and Pairings
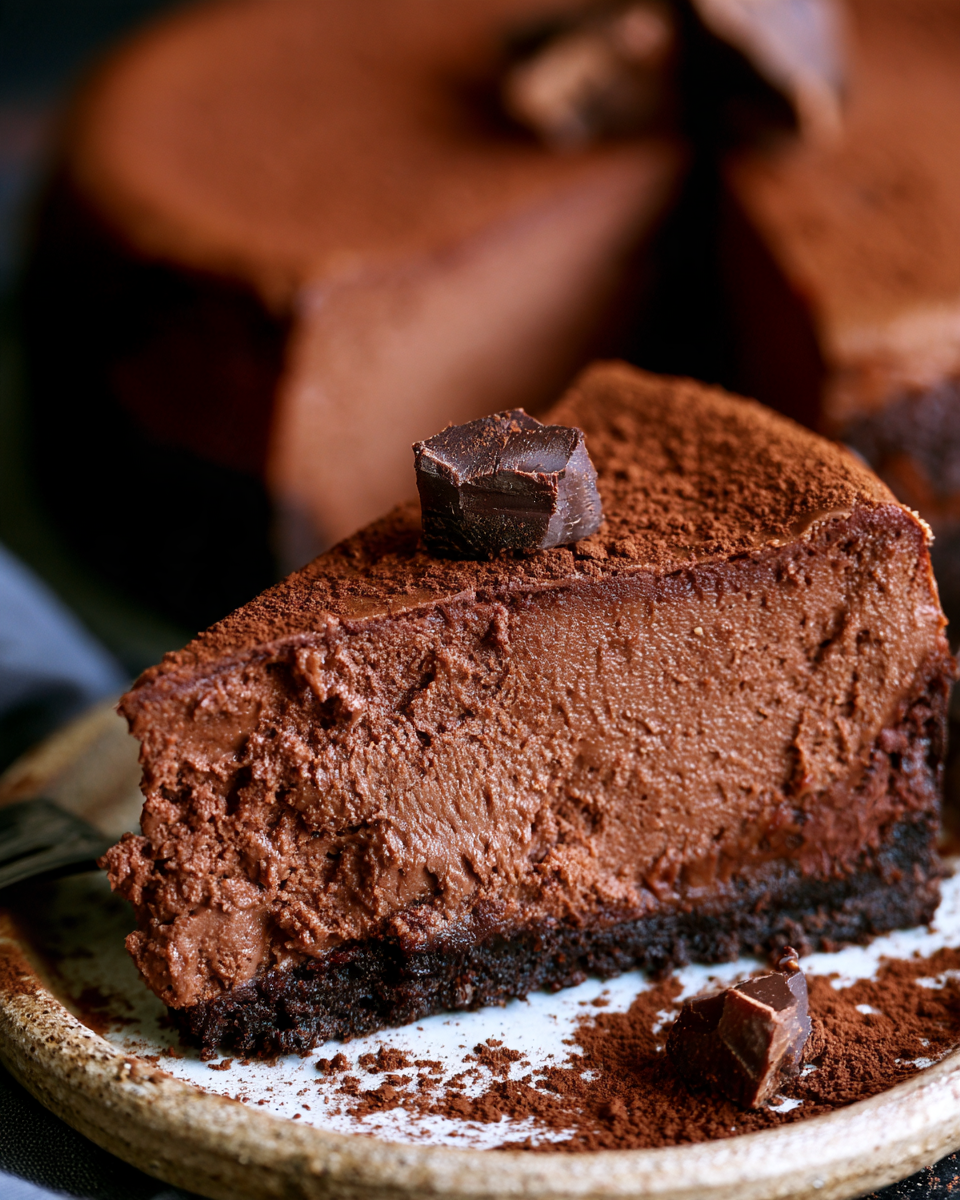
Serve this chocolate cheesecake alongside fresh raspberries or a drizzle of warm fudge sauce for added acidity. It pairs exceptionally well with hot drip coffee or a chilled glass of milk during holiday gatherings. For an elegant touch, garnish the top with shaved white chocolate curls or a dusting of powdered sugar.
Storage and Reheating
| Method | Duration | Instructions |
|---|---|---|
| Refrigerator | 5 days | Keep in airtight container |
| Freezer | 2 months | Wrap tightly in plastic wrap |
Nutritional Information
| Nutrient | Amount per Serving |
|---|---|
| Calories | 480 kcal |
| Fat | 32g |
| Carbs | 38g |
| Protein | 8g |
Approximate values.
Frequently Asked Questions
Can I use low-fat cream cheese for this recipe?
You cannot use low-fat cream cheese because it contains higher water content that prevents proper setting. High fat is required for the creamy mouthfeel and structural stability of this cake.
How do I know when the cheesecake is fully baked?
The cheesecake is done when the edges appear firm but the center retains a slight jiggle. It will continue to set as it cools to room temperature and chills in the refrigerator.
Why did my chocolate cheesecake crack?
Cracking occurs due to rapid temperature changes or over-baking the center of the cake. Keep the oven door closed during the cooling phase to ensure a slow, even drop in temperature.
Can I make this cheesecake a day in advance?
You should make this cheesecake at least one day in advance for the best texture. The flavors develop significantly after twelve hours of chilling in the refrigerator.
How do I get clean slices?
You achieve clean slices by running your knife under hot water and wiping it dry between each cut. This technique melts the outer layer of the chilled fat for a smooth edge.
Mastering this chocolate cheesecake recipe requires patience and attention to detail but rewards you with a dessert that rivals any professional patisserie. By maintaining consistent ingredient temperatures and following the cooling protocol, you will impress your guests with a decadent, restaurant-quality treat. Enjoy the deep, velvety cocoa intensity in every single bite of this timeless favorite.
PrintRich Decadent Chocolate Cheesecake
- Total Time: 420
- Yield: 12 servings 1x
- Diet: Vegetarian
Description
Indulge in a classic bakery-style chocolate cheesecake featuring a dense, velvety texture and a profound cocoa flavor. This recipe uses high-quality cream cheese and Dutch-processed cocoa powder to ensure a smooth, professional result. By utilizing a gentle water bath during the baking process, we prevent cracks and ensure the cheesecake remains incredibly creamy. Perfect for any special occasion, this dessert is a true chocolate lover’s dream.
Ingredients
32 oz cream cheese, room temperature
1.5 cups granulated sugar
0.75 cup dark cocoa powder
4 large eggs, room temperature
1 cup heavy cream
1 cup chocolate chips, melted
1.5 cups crushed graham crackers
0.5 cup butter, melted
Instructions
Preheat oven to 350°F.
Combine crushed graham crackers with melted butter and press firmly into a 9-inch springform pan.
Bake the crust for 10 minutes and allow to cool completely.
Beat cream cheese and sugar until smooth.
Add cocoa powder and mix on low until incorporated.
Whisk in eggs one at a time.
Fold in melted chocolate chips and heavy cream until glossy.
Wrap the springform pan in heavy-duty aluminum foil.
Place in a water bath and bake until set.
Cool completely and refrigerate for several hours before serving.
Notes
Ensure all ingredients are at room temperature to avoid lumps in the batter. The water bath is essential for an even, crack-free finish. Store covered in the refrigerator for up to 5 days.
- Prep Time: 30
- Cook Time: 75
- Category: Baking
- Method: Baking
- Cuisine: American
Nutrition
- Serving Size: 1 slice
- Calories: 520
- Sugar: 38g
- Sodium: 320mg
- Fat: 36g
- Saturated Fat: 22g
- Carbohydrates: 45g
- Fiber: 3g
- Protein: 9g
- Cholesterol: 145mg
