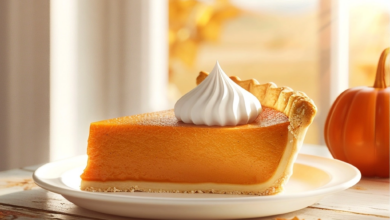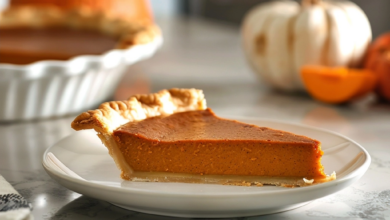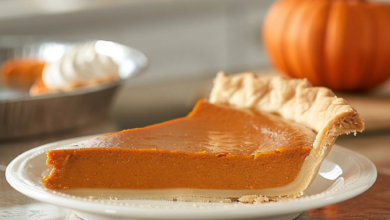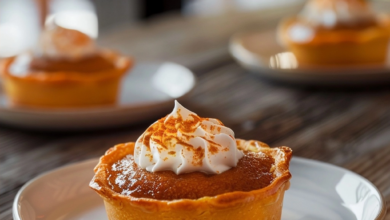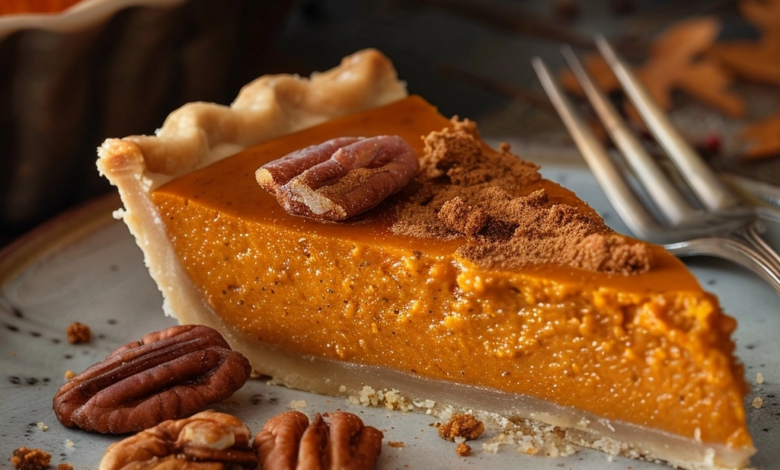
No-Bake Pumpkin Pie provides a creamy, effortless dessert solution that requires zero oven time during busy holiday seasons. This chilled treat relies on a stabilized whipped filling to achieve a firm, sliceable texture without needing traditional egg-based custard baking methods. You will appreciate the convenience of preparing this dish ahead of time while maintaining the classic spiced autumn flavors your family expects.
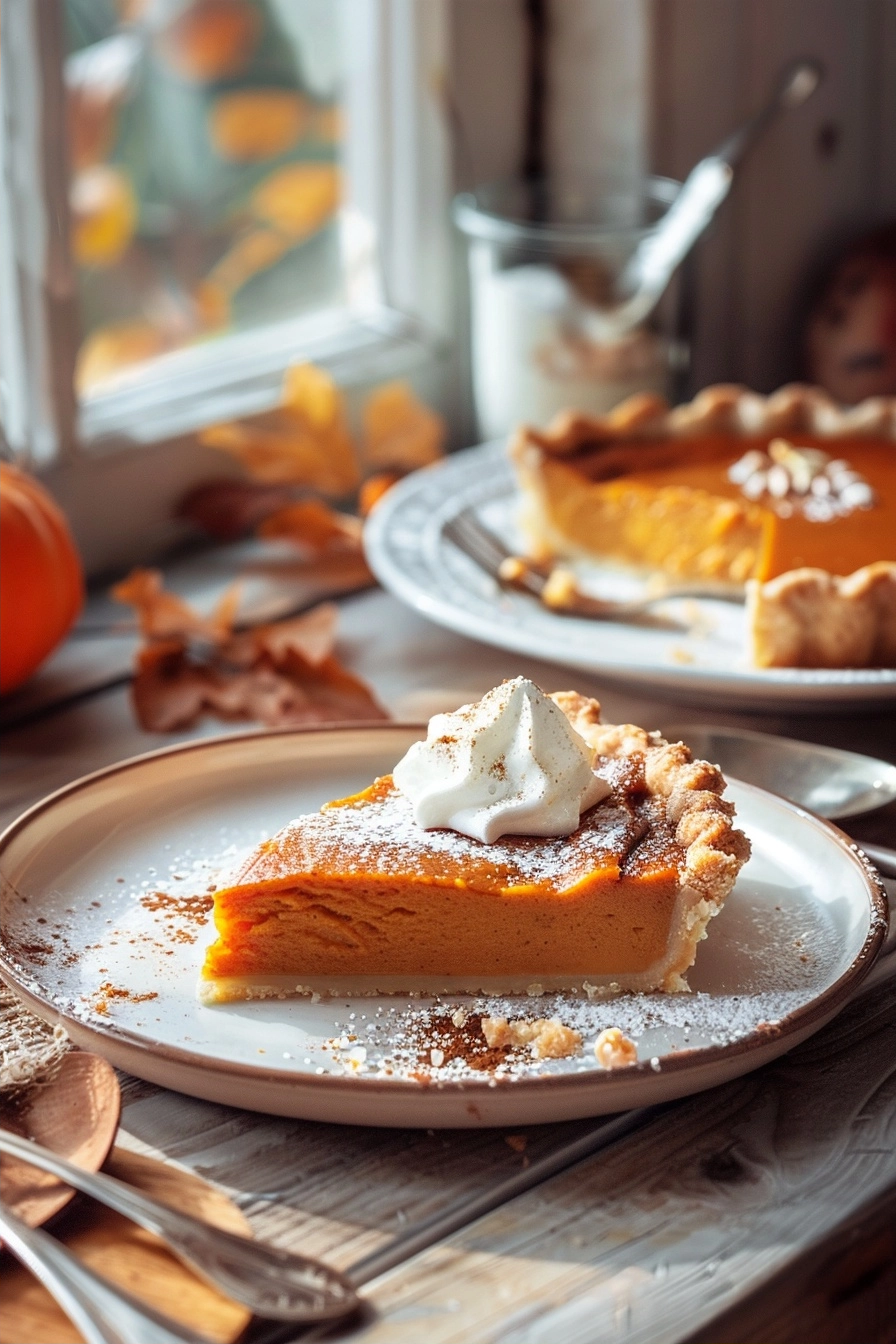
Recipe Overview
| Category | Details |
|---|---|
| Prep Time | 20 minutes |
| Total Time | 6 hours (including chilling) |
| Servings | 8 slices |
| Difficulty | Easy |
| Cuisine | American |
Why This Recipe Works
This recipe works because it utilizes the natural structure of whipped cream and cream cheese to hold the pumpkin puree in a firm, velvet-like suspension. Traditional pies often suffer from cracks or uneven cooking, but this chilled version maintains a perfectly smooth surface and consistent texture every single time you slice into it.
I personally rely on this method when my oven is occupied by a turkey or holiday roast. It removes the stress of monitoring bake times and cooling racks, ensuring you have a reliable, crowd-pleasing dessert that tastes just as good as the time-consuming baked versions.
Ingredients
| Ingredient | Quantity | Notes |
| Pumpkin Puree | 15 oz | Use pure pumpkin, not pie filling |
| Cream Cheese | 8 oz | Must be room temperature |
| Heavy Whipping Cream | 1.5 cups | Must be very cold |
| Powdered Sugar | 3/4 cup | Sifted for smoothness |
| Pumpkin Pie Spice | 2 tsp | Freshness matters for flavor |
| Graham Cracker Crust | 1 store-bought | Or use crushed gingersnaps |
Step-by-Step Instructions
Preparation and Base
- Soften the cream cheese on your counter for at least one hour before starting the mixture.
- Combine the pumpkin puree, softened cream cheese, powdered sugar, and pumpkin pie spice in a large mixing bowl.
- Beat the mixture with an electric hand mixer until the texture appears smooth and uniform without lumps.
Whipping and Assembly
- Whisk the cold heavy whipping cream in a separate chilled bowl until stiff peaks form.
- Fold the whipped cream into the pumpkin mixture gently to maintain aeration and a light consistency.
- Transfer the completed filling into your pre-made graham cracker crust using a rubber spatula.
- Smooth the top surface of the pie evenly to ensure a clean presentation for your guests.
- Chill the assembled pie in the refrigerator for at least six hours before slicing.
Chef Tips for Perfect Results
- Use high-quality, full-fat cream cheese to guarantee a stable set that resists melting at room temperature.
- Chill your metal mixing bowl for ten minutes before whipping the cream to ensure maximum volume and stability.
- Sift your powdered sugar before mixing to prevent small, gritty lumps from forming in your silky filling.
- Allow the pie to set for the full six hours to ensure the center firms up sufficiently for clean slices.
Common Mistakes to Avoid
Over-mixing the whipped cream is a common mistake that deflates the air bubbles and results in a dense, runny pie. Stop mixing as soon as the cream reaches stiff peaks and incorporate it into the pumpkin base slowly. Another error involves using warm ingredients, which prevents the cream cheese from emulsifying correctly with the pumpkin. Ensure your cream cheese sits at room temperature for an hour, but keep your heavy cream strictly in the refrigerator until the exact moment you start whipping.
Variations and Substitutions
| Ingredient | Substitution | Impact on Flavor |
| Graham Cracker Crust | Gingersnap Crust | Adds a spicy, intense ginger note |
| Pumpkin Pie Spice | Cinnamon and Cloves | Provides a brighter, sharper spice profile |
| Heavy Cream | Coconut Cream | Results in a subtle tropical undertone |
Serving Suggestions and Pairings
Serve this pie with a dollop of fresh whipped cream and a sprinkle of toasted pecans to provide a satisfying textural contrast. It pairs beautifully with hot spiced apple cider or a dark roast coffee, making it the perfect finale for an autumn gathering. For larger dinner parties, offer a side of caramel sauce to drizzle over individual plates.
Storage and Reheating
| Method | Duration | Instructions |
| Refrigerator | 3 days | Keep covered tightly with plastic wrap |
| Freezer | 1 month | Wrap in double layer of foil to prevent freezer burn |
Nutritional Information
Approximate values per serving based on 8 slices.
| Nutrient | Amount |
| Calories | 320 kcal |
| Fat | 18g |
| Carbohydrates | 35g |
| Protein | 4g |
Frequently Asked Questions
Can I use homemade pumpkin puree instead of canned?
You can use homemade puree, but you must roast it until very dry to avoid introducing excess moisture into the filling. Excess water prevents the pie from setting properly and leads to a soggy crust.
What should I do if the pie is not firm after chilling?
Move the pie to the freezer for thirty minutes to shock the fats into a firmer state before serving. This usually corrects issues caused by insufficient chilling time or over-whipping the cream.
Can I prepare this dessert two days in advance?
You can safely prepare this dish up to forty-eight hours before your event without losing quality. Keep the pie stored in the back of the refrigerator to maintain a constant, cold temperature.
Is it possible to make this recipe dairy-free?
It is possible to substitute dairy-free cream cheese and coconut-based whipping cream to achieve a similar result. Ensure your plant-based alternatives are high in fat content to maintain the structural integrity of the dessert.
How do I achieve clean slices without sticking?
Dip your knife into a glass of hot water and wipe it clean between every single cut you make. This thermal trick melts through the filling effortlessly, resulting in professional, clean edges on every slice.
This no-bake approach removes all the guesswork from holiday baking, allowing you to focus on entertaining your guests instead of monitoring the oven. By following these simple steps, you ensure a decadent, spiced dessert that anchors any seasonal menu. Enjoy the smooth, creamy texture of your homemade pie during your next festive gathering. Its classic flavor remains an enduring favorite for everyone at the table.
Print
No-Bake Pumpkin Pie
- Total Time: 360
- Yield: 8 slices 1x
- Diet: Vegetarian
Description
Indulge in this effortless and creamy No-Bake Pumpkin Pie, perfect for busy holiday seasons when oven space is limited. This chilled treat features a stabilized, velvety mixture of spiced pumpkin puree and whipped cream set in a buttery graham cracker crust. It offers the classic, comforting autumn flavors you love with a smooth, consistent texture that is guaranteed to impress your guests without the stress of traditional baking.
Ingredients
15 oz pumpkin puree (pure pumpkin, not pie filling)
8 oz cream cheese, room temperature
1.5 cups heavy whipping cream, chilled
3/4 cup powdered sugar, sifted
2 tsp pumpkin pie spice
1 store-bought graham cracker crust
Instructions
Soften the cream cheese on the counter for at least one hour before starting.
Combine the pumpkin puree, softened cream cheese, powdered sugar, and pumpkin pie spice in a large mixing bowl.
Beat the mixture with an electric hand mixer until the texture is completely smooth and uniform.
In a separate chilled bowl, whisk the heavy whipping cream until stiff peaks form.
Gently fold the whipped cream into the pumpkin mixture until well combined and aerated.
Transfer the filling into the graham cracker crust and use a spatula to smooth the surface.
Chill in the refrigerator for at least six hours before slicing and serving.
Notes
Ensure the heavy whipping cream is very cold before whisking to achieve the best volume.
You can substitute the graham cracker crust with a crushed gingersnap crust for added spice.
Leftover pie should be stored in the refrigerator covered with plastic wrap for up to 3 days.
- Prep Time: 20
- Category: Breakfast
- Method: No-Bake
- Cuisine: American
Nutrition
- Serving Size: 1 slice
- Calories: 320
- Sugar: 22g
- Sodium: 210mg
- Fat: 21g
- Saturated Fat: 12g
- Carbohydrates: 32g
- Fiber: 2g
- Protein: 4g
- Cholesterol: 65mg