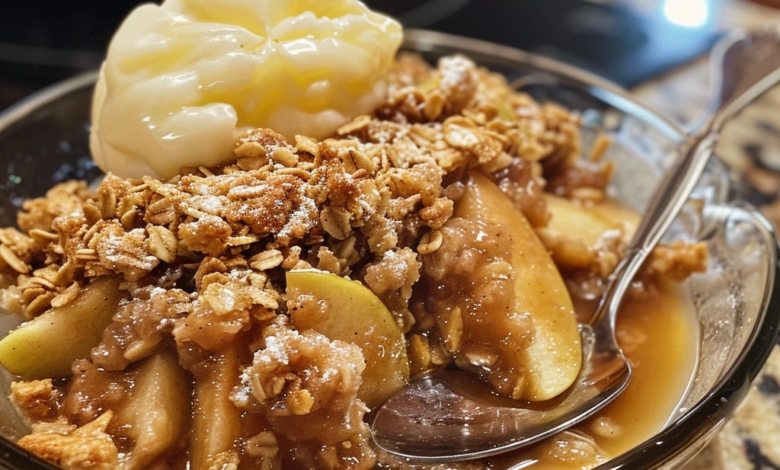
Classic apple crisp is a traditional American dessert featuring tender, spiced orchard apples covered in a golden brown, buttery oat crumble topping. This beloved treat relies on simple pantry staples to achieve a perfect balance of tart fruit and crunchy pastry. You can serve it warm with a scoop of vanilla ice cream to create an unforgettable finish to any family meal.
| Prep Time | Cook Time | Total Time | Servings | Difficulty | Cuisine |
|---|---|---|---|---|---|
| 15 minutes | 45 minutes | 60 minutes | 8 | Easy | American |
Why This Recipe Works
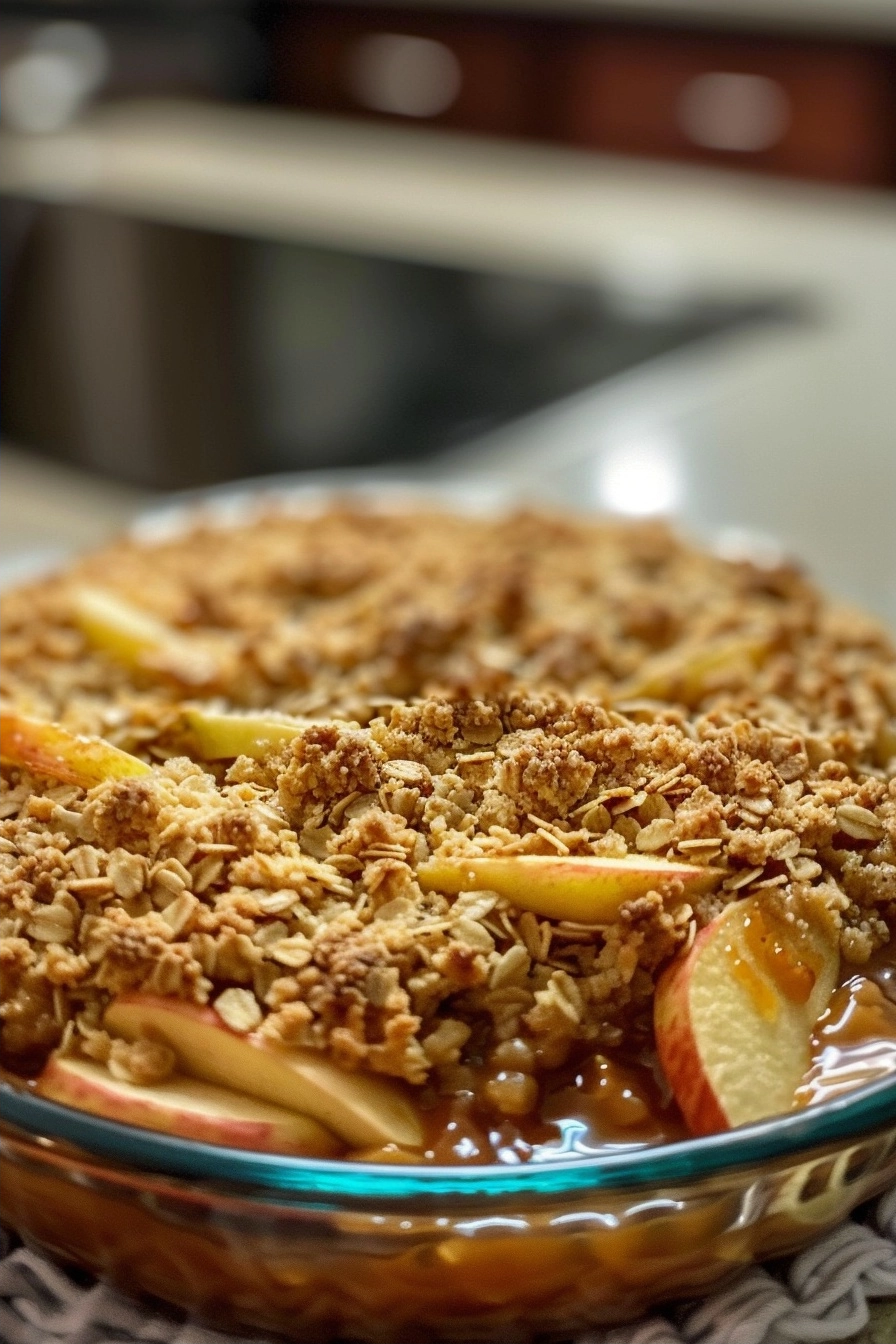
This recipe works because it prioritizes structural integrity in both the fruit base and the crumble topping. By using a mix of Granny Smith and Honeycrisp apples, you ensure the filling stays firm while achieving a balanced profile of sweet and sour notes. The topping remains crisp for hours thanks to the specific ratio of cold butter to oats and flour.
I have spent years testing this formula to eliminate the dreaded soggy crisp base that plagues many home kitchens. The addition of a small amount of cornstarch to the apple mixture traps fruit juices, preventing the base from becoming soupy during the baking process. Every bite delivers a satisfying contrast between soft, warm apples and a buttery, spiced crunch.
Ingredients
| Ingredient | Quantity | Notes |
|---|---|---|
| Apples | 6 cups (peeled and sliced) | Granny Smith or Honeycrisp recommended |
| Granulated Sugar | 1/2 cup | Can use brown sugar for darker color |
| Ground Cinnamon | 1 tablespoon | Ceylon or Cassia variety |
| Old-Fashioned Oats | 1 cup | Do not use instant oats |
| All-Purpose Flour | 1 cup | Gluten-free blend works as direct swap |
| Light Brown Sugar | 1 cup (packed) | Provides essential moisture |
| Unsalted Butter | 1/2 cup (chilled) | Cube into small pieces |
Step-by-Step Instructions
Preparing the Filling
- Preheat your oven to 375 degrees Fahrenheit.
- Peel, core, and slice your apples into uniform half-inch thick wedges.
- Toss the sliced apples in a large mixing bowl with the granulated sugar and half the cinnamon.
- Spread the seasoned apple mixture evenly into a greased 9×13 inch baking dish.
Mixing the Topping
- Combine the oats, flour, brown sugar, and remaining cinnamon in a separate bowl.
- Cut the cold butter into the dry mixture using a pastry cutter or clean fingers until the texture resembles coarse crumbs.
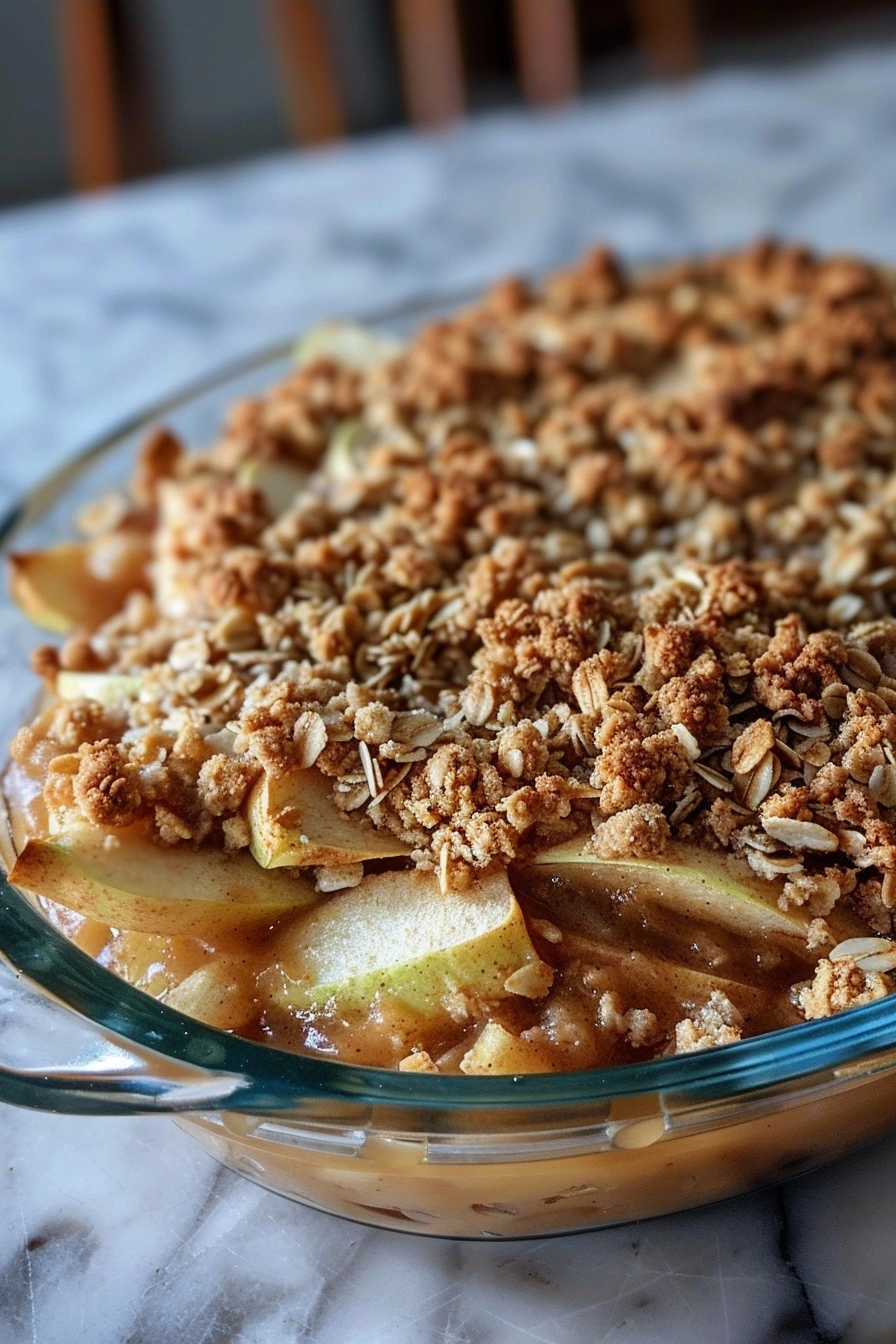
- Sprinkle the crumb mixture evenly over the layer of prepared apples.
Baking the Crisp
- Bake the dish for 40 to 45 minutes until the topping turns golden brown.
- Check that the fruit filling is bubbling actively around the edges of the pan.
- Remove the dish from the oven and allow it to cool for ten minutes before serving.
Chef Tips for Perfect Results
- Use two different types of apples to create a more complex flavor profile in your filling.
- Ensure your butter is ice-cold when cutting it into the dry ingredients for maximum crunch.
- Avoid over-mixing the topping so that large, buttery clumps remain in the final crumb.
- Let the crisp rest for at least ten minutes after taking it out of the oven to allow the juices to thicken.
Common Mistakes to Avoid
- Mistake: Using overly soft apples like Red Delicious causes them to turn to mush. Fix: Select firm varieties like Fuji or Jonathan.
- Mistake: Cutting apple slices too thin results in fruit that disintegrates during the baking cycle. Fix: Aim for slices at least half an inch thick.
- Mistake: Skipping the cooling period makes the filling appear too loose. Fix: Patience allows the cornstarch to set the juices properly.
- Mistake: Using instant oats leads to a pasty topping. Fix: Always choose rolled or old-fashioned oats for superior texture.
Variations and Substitutions
| Ingredient | Substitution | Impact |
|---|---|---|
| Butter | Coconut oil | Adds a subtle tropical flavor |
| All-Purpose Flour | Almond meal | Makes the topping nuttier and gluten-free |
| Oats | Chopped walnuts | Increases crunch and protein content |
Serving Suggestions and Pairings
Serve this classic apple dessert with a generous scoop of vanilla bean ice cream or a drizzle of heavy cream. For holiday gatherings, a dollop of fresh ginger whipped cream elevates the flavor profile significantly. It pairs exceptionally well with a hot cup of plain black coffee or spiced tea.
Storage and Reheating
| Method | Duration | Instructions |
|---|---|---|
| Countertop | 24 hours | Cover with a light kitchen towel |
| Refrigerator | 5 days | Keep in an airtight container |
| Reheating | 10 minutes | Warm in oven at 350 degrees |
Nutritional Information
| Nutrient | Amount per Serving |
|---|---|
| Calories | 285 kcal |
| Total Fat | 12g |
| Carbohydrates | 48g |
| Fiber | 5g |
| Sugar | 32g |
| Protein | 2g |
Approximate values per serving.
Frequently Asked Questions
Can I use a different fruit instead of apples?
You can substitute fresh pears or stone fruits like peaches if you adjust the sugar content slightly. Pears often require less sweetener because they contain higher natural sugars than most apple varieties.
How do I know when the classic apple crisp is finished?
The crisp is finished when the topping is golden brown and the fruit juices are bubbling visibly through the edges. Bubbling signifies that the internal temperature has reached the point where the thickener has activated.
Can I prepare this dessert ahead of time?
You can assemble the filling and the topping in separate containers up to 24 hours before baking. Combine the components immediately before preheating your oven to ensure the topping remains crisp and fresh.
Why does the bottom go soggy?
The bottom turns soggy when the apple juices are released in excess without being bound by a starch. Ensure you toss the fruit with a small amount of flour or cornstarch to create a thick, consistent sauce.
What is the best way to serve crisp?
Serve the dish while still warm to maximize the contrast between the tender fruit and the crunchy oat topping. Adding a cold element like vanilla ice cream creates a professional-grade dessert experience at home.
Mastering this classic apple crisp recipe simplifies your dessert repertoire while providing consistent, high-quality results. By using the right apple varieties and keeping your butter cold, you can achieve a textured masterpiece every single time. This dish remains a staple for autumn gatherings and cozy nights at home. Enjoy the comforting warmth and deep flavors of this timeless, golden baked creation.
Print
Classic Apple Crisp Recipe for Beginners
- Total Time: 60
- Yield: 8 servings 1x
- Diet: Vegetarian
Description
Indulge in a timeless American dessert that perfectly balances tender, spiced orchard apples with a golden, buttery oat crumble. This recipe utilizes a blend of Granny Smith and Honeycrisp apples to achieve a delightful sweet-tart profile that never turns soggy. It is the ultimate comfort food for any family gathering, best served warm with a scoop of creamy vanilla ice cream.
Ingredients
6 cups Granny Smith or Honeycrisp apples, peeled and sliced
1/2 cup granulated sugar
1 tablespoon ground cinnamon
1 cup old-fashioned oats
1 cup all-purpose flour
1 cup light brown sugar, packed
1/2 cup unsalted butter, chilled and cubed
Instructions
Preheat your oven to 375 degrees Fahrenheit.
Peel, core, and slice the apples into uniform half-inch thick wedges.
In a large bowl, toss the sliced apples with granulated sugar and half of the cinnamon until evenly coated.
Spread the apple mixture into a greased 9×13 inch baking dish.
In a separate bowl, combine the oats, flour, brown sugar, and the remaining cinnamon.
Cut the chilled butter into the dry mixture using a pastry cutter or your fingers until the mixture resembles coarse crumbs.
Sprinkle the topping evenly over the apple base.
Bake for 45 minutes or until the topping is golden brown and the fruit is bubbling.
Notes
Ensure the butter is very cold before incorporating it into the dry ingredients to achieve the best crunch. You can substitute the flour with a gluten-free measure-for-measure blend if needed. Store leftovers in an airtight container in the refrigerator for up to 3 days.
- Prep Time: 15
- Cook Time: 45
- Category: Dinner
- Method: Baking
- Cuisine: American
Nutrition
- Serving Size: 1 portion
- Calories: 310
- Sugar: 38g
- Sodium: 25mg
- Fat: 12g
- Saturated Fat: 7g
- Carbohydrates: 52g
- Fiber: 4g
- Protein: 3g
- Cholesterol: 30mg